With your GeoDirectory (GD) Custom Post Types (CPT) plugin, you can create as many different types of posts as you would like to customize your directory. It really expands your options for post types. The standard installation of GD includes a basic post type. You can start with that and add as many categories too it as you want. For instance, if you have a business directory, you can add categories such as restaurants, parks/recreation, doctors, massage therapists, house cleaners, lawn and garden and as many categories as you want.
The CPT will allow you to have users add content from the front end. Each CPT has its own form builder, so you can add in any custom fields, prices, custom categories, and tags that you need. This can actually be used in many ways:’
- to create different ways to create content, you can create a share your story CPT
- have people share their related products and services
How to Create a CPT
Install the Custom Post Type Plugin
It will show up in your GeoDirectory dashboard in your WordPress Admin
Dashboard>>> GeoDirectory>>>Settings>>>Post Types
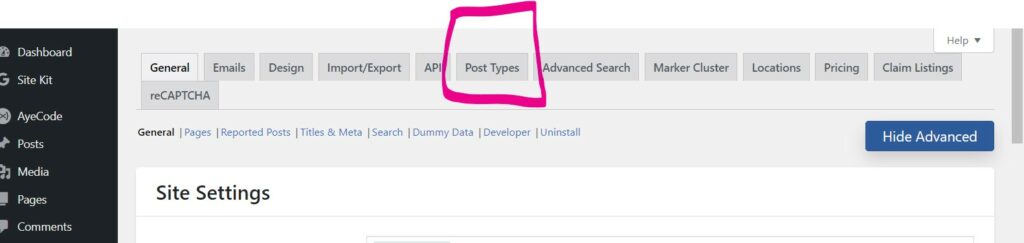
GeoDirectory comes with one default post type – Places. You can change the slug name to show a different word in that section, but the backend will display Places in the post types.

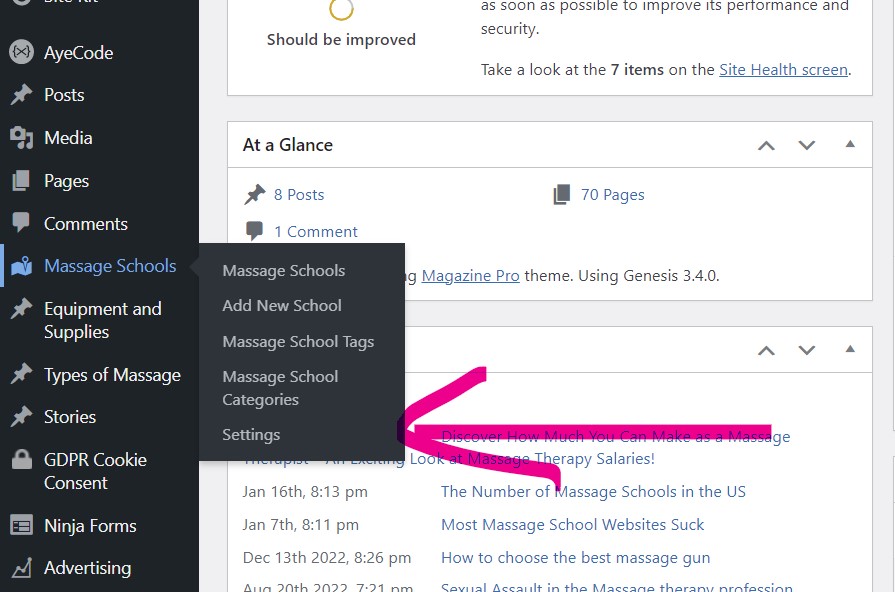
When you create a custom post type, it creates a separate section for it on the left dashboard.
See it at Dashboard>>>Whatever you named the post type>>> Settings
From the settings dashboard in that CPT you can set up the form that is built that users will fill in to create their listing on the front end.
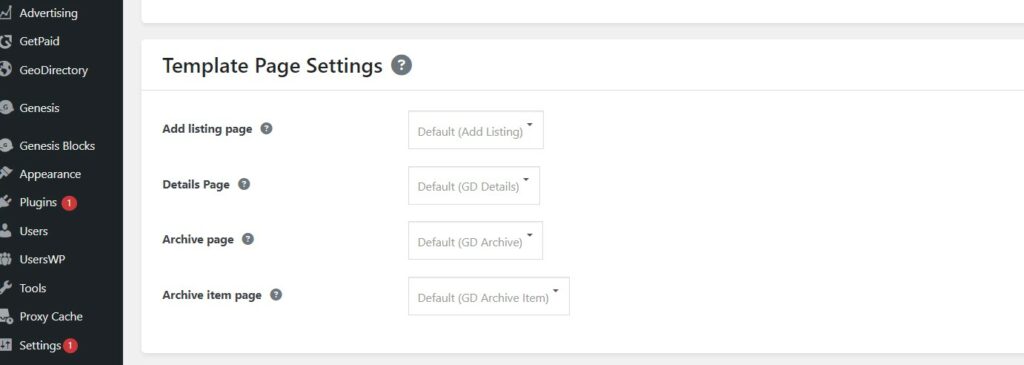
Start at General in the middle and click on advanced to start setting up your custom post type. The settings are pretty straight forward depending on what you want your listing to do. The main part to get set correctly are the options called Template Page Settings (Post type (left side of dashboard>>>settings>>>general>>>advanced settings>>> Template Page Settings ( near bottom of page).
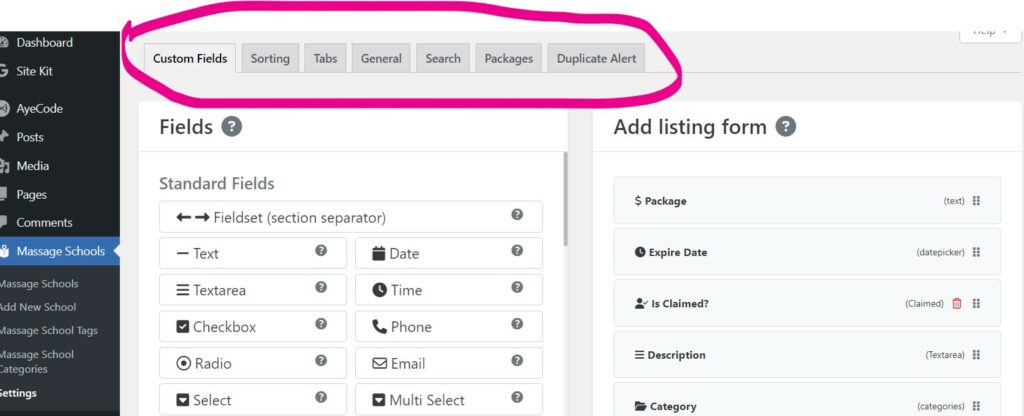
The custom field setting is where you create the fields that will go into making your listing form that users will fill in on the front end.
The Sorting setting will allow you to control how the fields are organized on the front end.
The Tabs will control how the listing is viewed on the front end.
Search – search option settings
Packages will show up when you install Get Paid plugin and want to use it to create packages where people can pay for a listing that you create.
The Template Page Settings show which pages will be used to create, show, archive the listings.
Here is the confusing part: The GD documents say create new pages for every option there but the thing is YOU DON’T have to do that. Just use the default settings and your listing will show correctly. Just create a new page for add listing and set up the listing form the way you want it.
You don’t even need to create a new page where the listings will show. The listing page will be the SLUG word that you used to create your CPT added to your website address: www.yoursite.com/yourcptslug You can also find the page where the listing will show in your list of pages in the Appearance>>MENU option>>>GD Endpoints
Tips and Tricks — To have your results show in One column rather than the Tab display option you need to Edit Your Details Page. Select GD-Details>>>Edit Page>>>Click on the GD-Single Tabs section and choose the advanced settings in the right hand column and select Settings> Show as List.
Adding a payment option to your CPT
For this you need the Get Paid Plugin.
